Shading Texturing
Each asset was shaded in Maya, and textured with Substance Painter.
For the color maps I baked curvature maps in SP, and used generators to have more control over the edges.
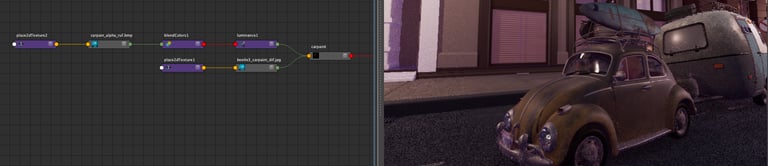
For the Beetle and Camper shells, I added two roughness maps that were blended together using a Blend Color node. Since SP does not automatically save the alpha maps, I had to manually export each map of the second spec layer.
To achieve the window texture while keeping the transparancy, I used a layershader in Maya. I downloaded the fog glass texture from Poliigon and matched the rotation to the UV direction.

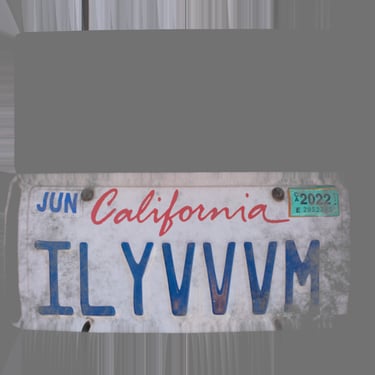
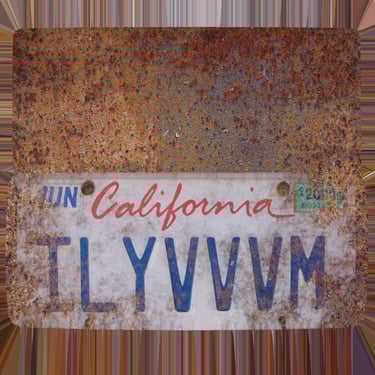
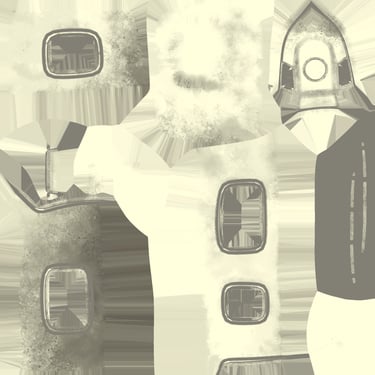
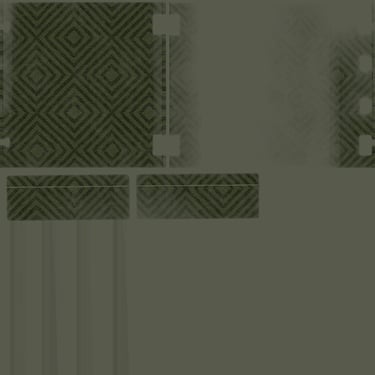
Beetle Color Maps
Camper Color Maps
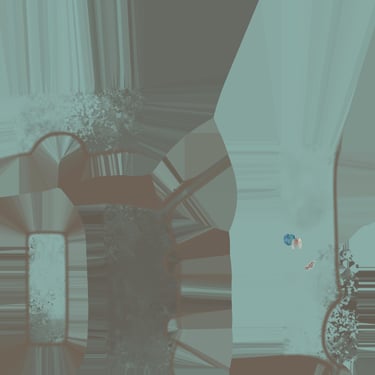


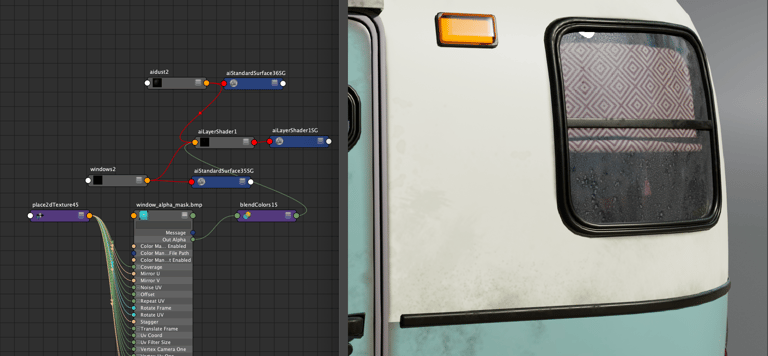
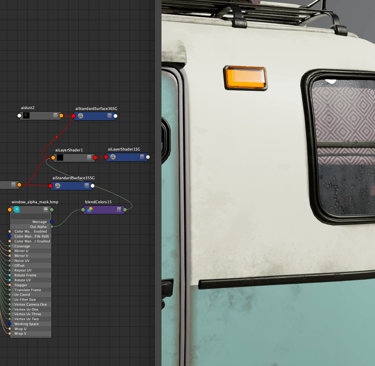
Window Texture
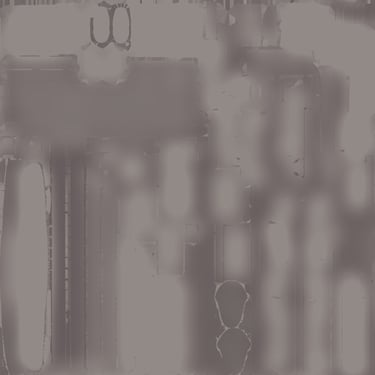
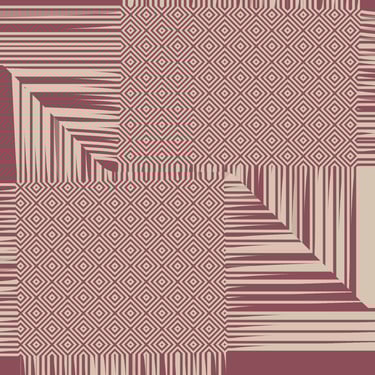
Specular Maps
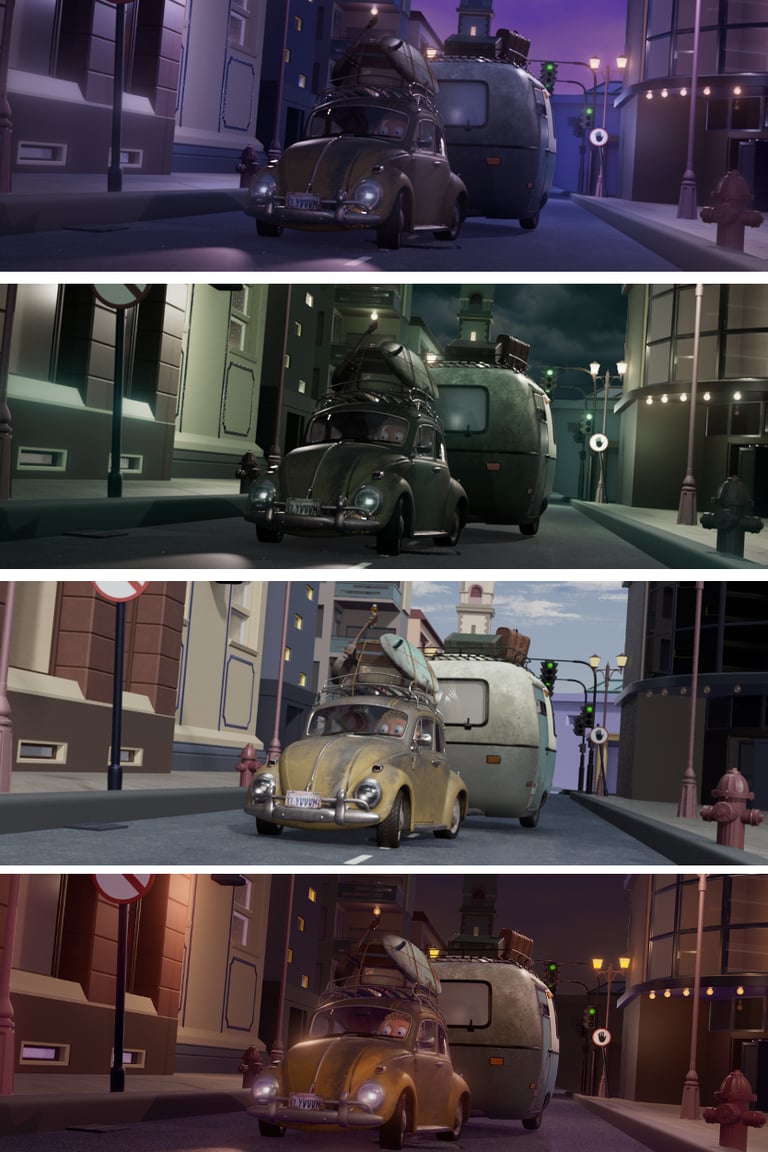
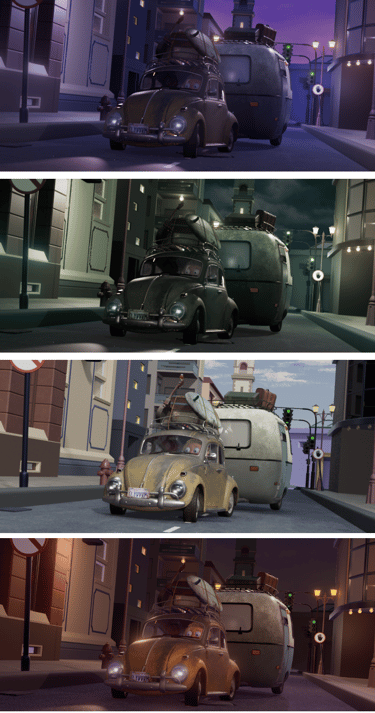
Lighting
I explored a range of visual moods using Nuke, focusing on color correction, Z-depth manipulation, lighting, and sky replacements to enhance cinematic storytelling.
For the first two examples, Love City and Fear City, the process involved isolating and adjusting each AOV (Arbitrary Output Variable) using individual ColorCorrect nodes. I also hand-painted unique skies for each scene and integrated them onto geometry planes to match perspective and lighting.
In the third example, I painted the sky manually, while adjusting the lighting directly within Maya to influence the base render before compositing.
The final example was composited primarily in Nuke, where I utilized a combination of default and third-party plugin nodes, such as Defocus and Bloom, to create a polished, cinematic atmosphere. The adjustments focused on depth, light scattering, and subtle glow effects to enhance mood and realism